Get out the coffee grounds when it comes to growing your own mushrooms!
Want to try your hand at growing your own mushrooms? Growing in coffee grounds is one of the easiest ways to grow mushrooms in your own kitchen, while combating resource waste! Finally, give a cleaned container such as a give a cleaned container such as a skyr bucket a new life as an oyster mushroom container when you’re trying to grow your own mushrooms.
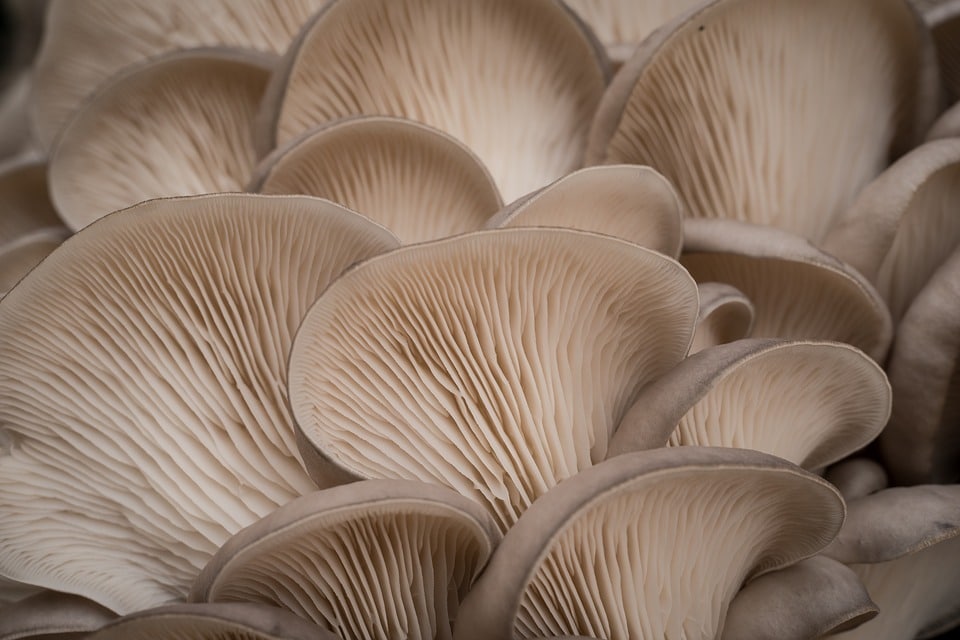
With oyster mushroom mycelium you can easily grow your own mushrooms. Oyster mushrooms can be grown in coffee grounds, straw and hardwood. In this guide, we share our experiences and gather the best tips and tricks from other mushroom growers to help you get the most out of your mushroom cultivation.
Find mycelium for gray/brown oyster mushrooms here and for yellow oyster mushrooms here.
HOW TO GROW OYSTER MUSHROOMS IN COFFEE GROUNDS
INGREDIENTS for grow your own mushrooms:
- A clean plastic bucket with lid or a plastic bag. Approx. 2.0 – 2.5 liters.
- Approx. 100 g oyster mushroom mycelium. Must be stored in the fridge.
- Coffee grounds, fresh and chilled.
- A spoon to stir the mixture together.
Tip. We’ve had the best results using grounds from filter coffee, piston coffee or similar. The grounds from an espresso machine can be very dry.
METHOD (WITH FINISHED AMOUNT OF COFFEE GROUNDS – ENOUGH TO FILL YOUR CONTAINER):
- Cut 2-4 round holes approximately 1.0 cm in diameter in the container, depending on the size of the container. Disinfect the container and other tools with boiling water. If you are using a bag, you can cut 1-2 cm long grooves and skip disinfection.
- Put breathable tape such as sports tape or painter’s tape over the holes.
- Mix the coffee grounds and mycelium thoroughly in the container. The bag/bucket should be full and the contents should be well compressed. Put a lid on the bucket or close the bag tightly at the top.
- After 2-3 weeks, the mycelium will have passed through the coffee grounds and after another 1-2 weeks the first fungi will start to grow.
- As the mushrooms grow, it’s a good idea to spray them daily with an atomizer, otherwise they may dry out.
METHOD (WITH CONTINUOUS COFFEE GROUNDS):
- Cut 2-4 round holes approximately 1.0 cm in diameter in the container, depending on the size of the container. Disinfect the container and other tools with boiling water. If you are using a bag, you can cut 1-2 cm long grooves and skip disinfection.
- Put breathable tape such as sports tape or painter’s tape over the holes.
- Mix the first layer of fresh and cooled coffee grounds with mycelium – about one tablespoon of mycelium for a half-filled coffee filter. Crumble the mycelium with your fingers if it has grown together. Remember that you only need about 100 grams of mycelium for 2 liters of coffee grounds.
- Stir the mixture with a spoon and close the container.
Wait for the mycelium to grow and the mixture to turn white and fluffy, then add more coffee grounds and mycelium. Do not mix the new mixture with the old mixture, but simply place it on top when you add new. It will mix as it goes. - Continue the process until the bucket or bag is full.
- Put the lid on the bucket or close the bag tightly at the top and remove the tape from the holes so the sponges can come out easily
- After 1-2 weeks, the fungi will start to grow.
THE LIFE OF THE MUSHROOMS:
The mushrooms come in “vomit”. How much vomit you get depends on the nutrient content of the coffee grounds and the size of the container.
Humidity. Oyster mushrooms like reasonably high humidity. You can continuously spray water around the mushrooms with an atomizer, preferably daily. This helps to prevent them from drying out. If the mushrooms start to thin and ‘stretch’, it means they are dry. If possible, you can put the bag bucket in a larger container with a wet newspaper or similar at the bottom.
Temperature. Mushrooms grow best at around 18 degrees. They don’t die at higher or lower temperatures, but are happy to hibernate.
Maturity. Mushrooms are ripe and ready to be picked when they become bright and “sharp” at the edges. When the edges start to “bend up” it also typically means that they are ready to be picked.
Patience. Depending on temperature and humidity, the bucket/bag will release sponges 1-3 times. It pauses between each “burst”, so be patient
Tip. You can ‘feed’ the mixture according to the sourdough principle – cut off part of the culture and continue to feed it with coffee grounds in a new container.
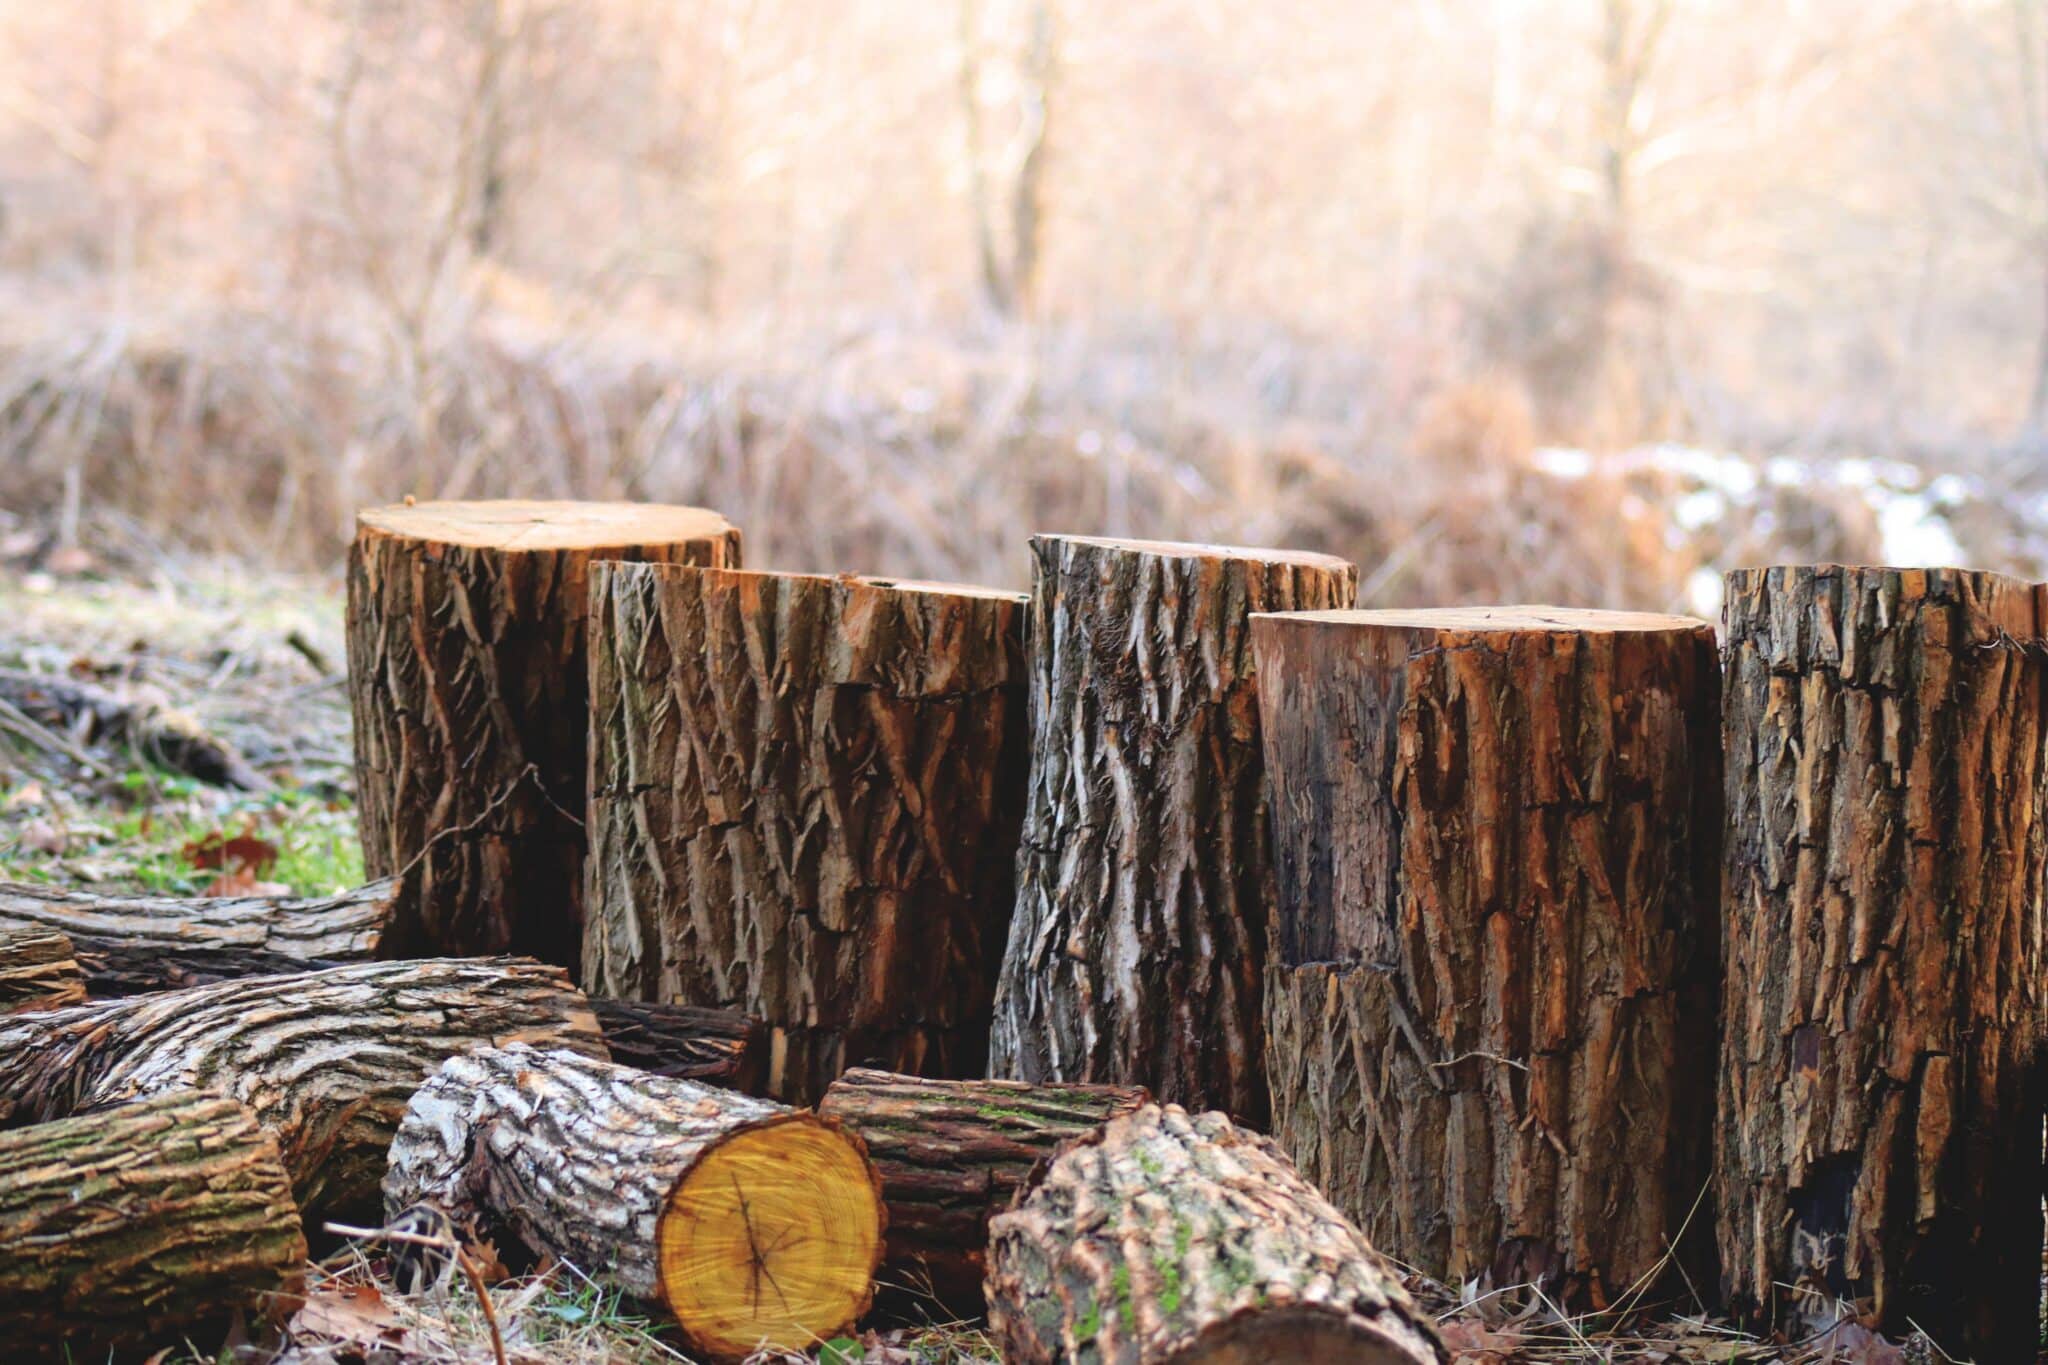
Read more about growing mushrooms in e.g. straw or on a tree stump.
We love growing mushrooms and we enjoy following your projects at home. If you’d like to share your projects, join the Mushroom Growers Community Facebook group.